 DogPayCard
Managing AWS billing can be complex, especially with fluctuating usage and multiple accounts. DogPay offers virtual cards that you can use to pay for AWS services. Here's a practical approach.
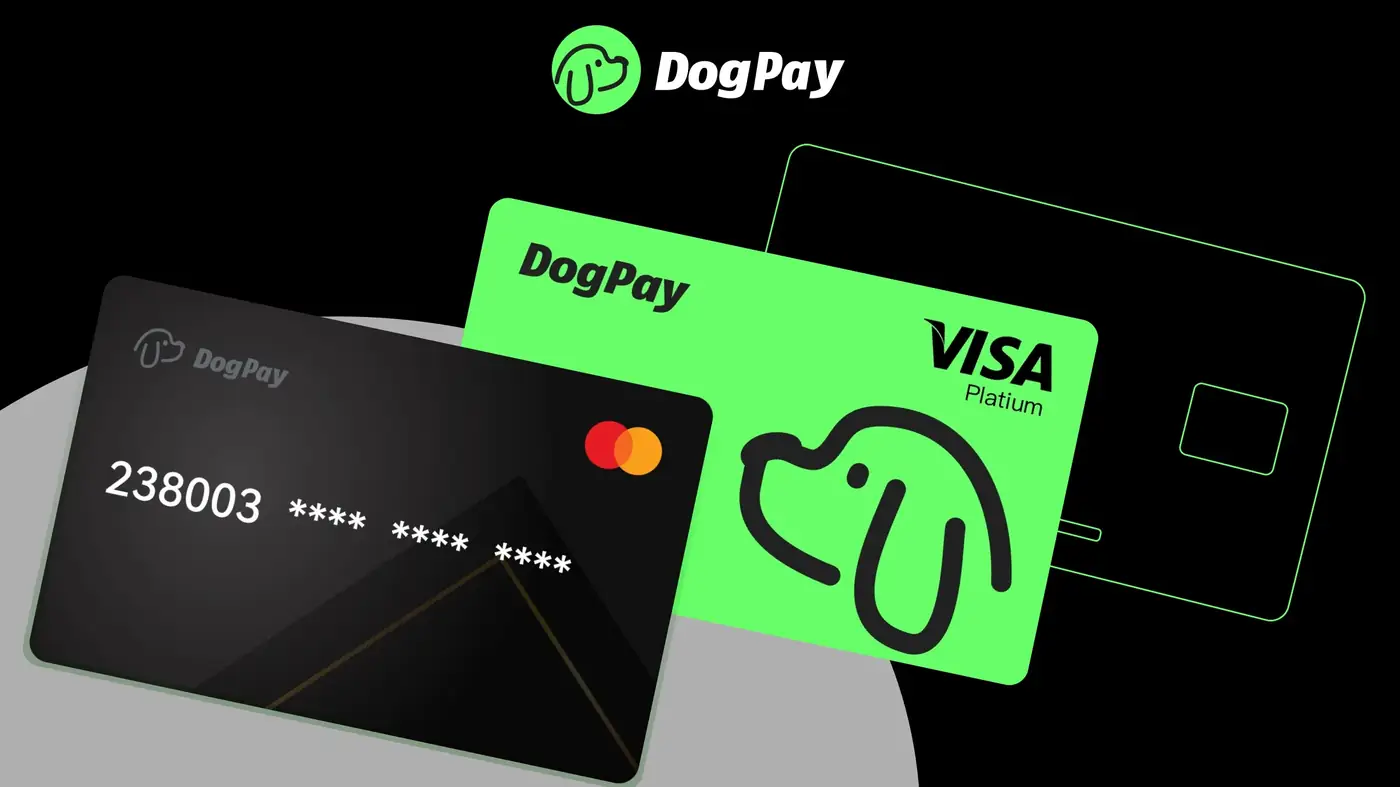
First, you need a DogPay account. Once set up, you can generate virtual cards with unique card numbers. For AWS, you might create a dedicated card for each AWS account or project. This helps you track spending accurately.
To use DogPay for AWS, add the virtual card as a payment method in your AWS billing console. AWS accepts major card networks, and DogPay cards are designed for online transactions. However, ensure the card has sufficient funds. DogPay allows you to fund cards via stablecoins or from your global account.
Setting spending limits on each virtual card is a key feature. You can control how much AWS can charge, which helps prevent unexpected overages. If a payment fails, check the card balance and validity. Sometimes, you may need to reissue a card if it's expired or blocked.
DogPay also provides transaction history and real-time alerts, aiding in reconciling your AWS invoices. While DogPay doesn't offer direct AWS integration, you can manually update card details in AWS. For recurring bills, keep the card active and funded.
One caution: AWS might require a valid billing address and CVV. Ensure your DogPay card details match the information in your AWS account to avoid declines. Also, some AWS services may require a different payment method for certain regions.
In summary, DogPay virtual cards offer a flexible way to handle AWS billing. They provide compartmentalization, spend control, and visibility into your cloud costs. By using DogPay, you can streamline payment operations with stablecoin settlement and dedicated cards, making it easier to manage your AWS budget. Always test with a small payment first to confirm acceptance.