 DogPayCard
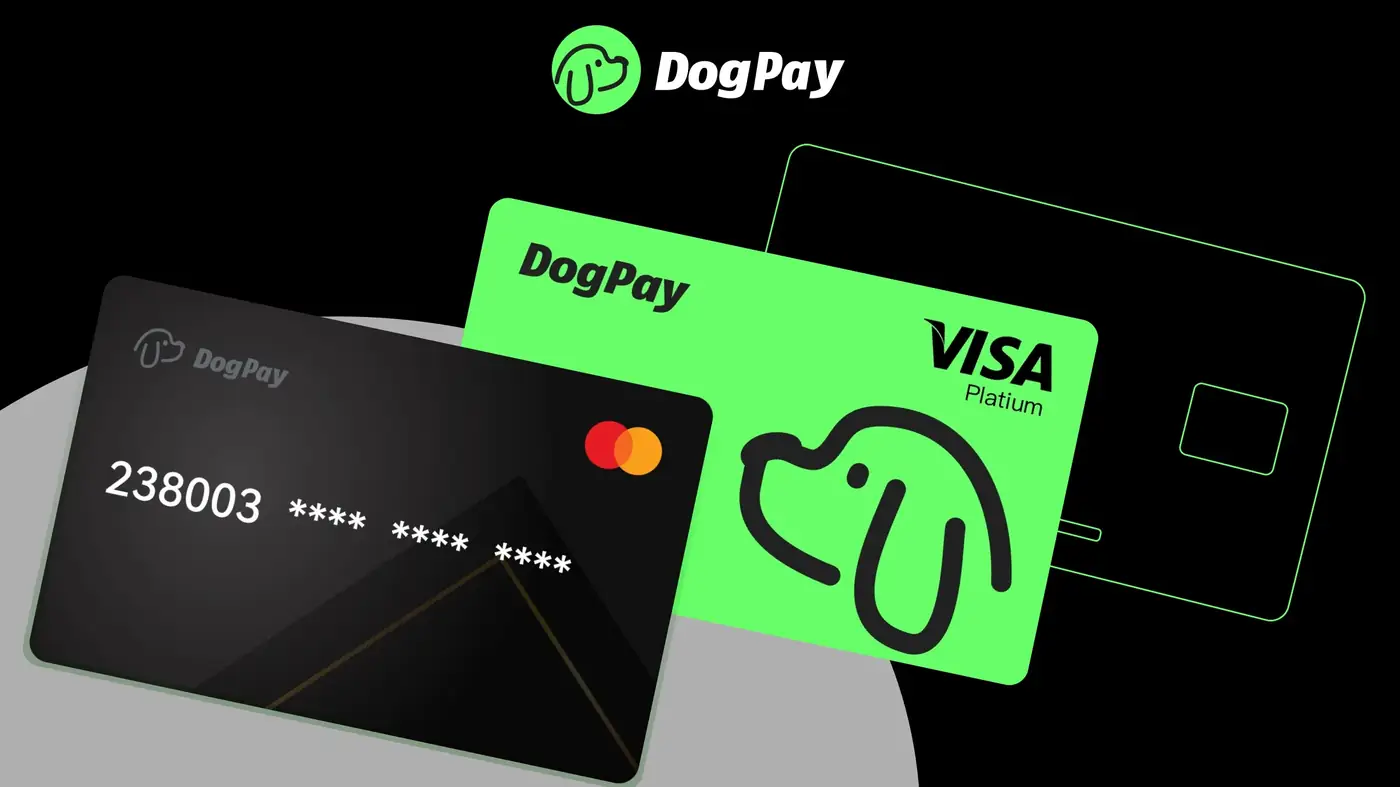
For businesses running on AWS, managing cloud billing across teams and projects can get messy. A dedicated virtual card for AWS helps separate cloud costs from other expenses, making tracking and budgeting easier. DogPay offers virtual cards that can be funded via stablecoins (like USDC) and used for online payments. Here’s how you might use them for AWS billing:
1) Create a dedicated card: Set up a virtual card specifically for AWS. This keeps cloud spending visible and isolated.
2) Fund the card: Deposit stablecoins into your DogPay account and allocate a budget to the card. Remember, you control the funding amount.
3) Use the card details: Add the card as your default payment method in AWS Billing. DogPay does not guarantee acceptance by AWS, but virtual cards generally work where Visa/Mastercard are accepted.
4) Monitor spend: Track AWS charges in your DogPay dashboard. Since the card is dedicated, you can see exactly what you’re spending on cloud services.
5) Adjust as needed: Top up the card manually or create a new card if you hit limits. DogPay does not auto-refill, so plan funding ahead.
Potential benefits: better spend visibility, control over cloud budgets, and the ability to pay with stablecoins without needing a traditional bank account.
Caveats: AWS may require a valid payment method; ensure your card has sufficient funds to avoid service interruptions. Also, check AWS’s terms—some regions or account types may have restrictions.
DogPay supports businesses with virtual cards, global accounts, stablecoin settlement, and spend visibility. While it doesn’t guarantee AWS acceptance or prevent failed payments, it offers a flexible way to manage cloud billing operations. For teams needing to streamline payment processes and keep cloud costs in check, DogPay can be part of the solution.